DIY Motorcycle Carburetor Cleaning in Dry Climates: The Ultimate Flagstaff Rider’s Guide
DIY Motorcycle Carburetor Cleaning in Dry Climates: The Ultimate Flagstaff Rider’s Guide
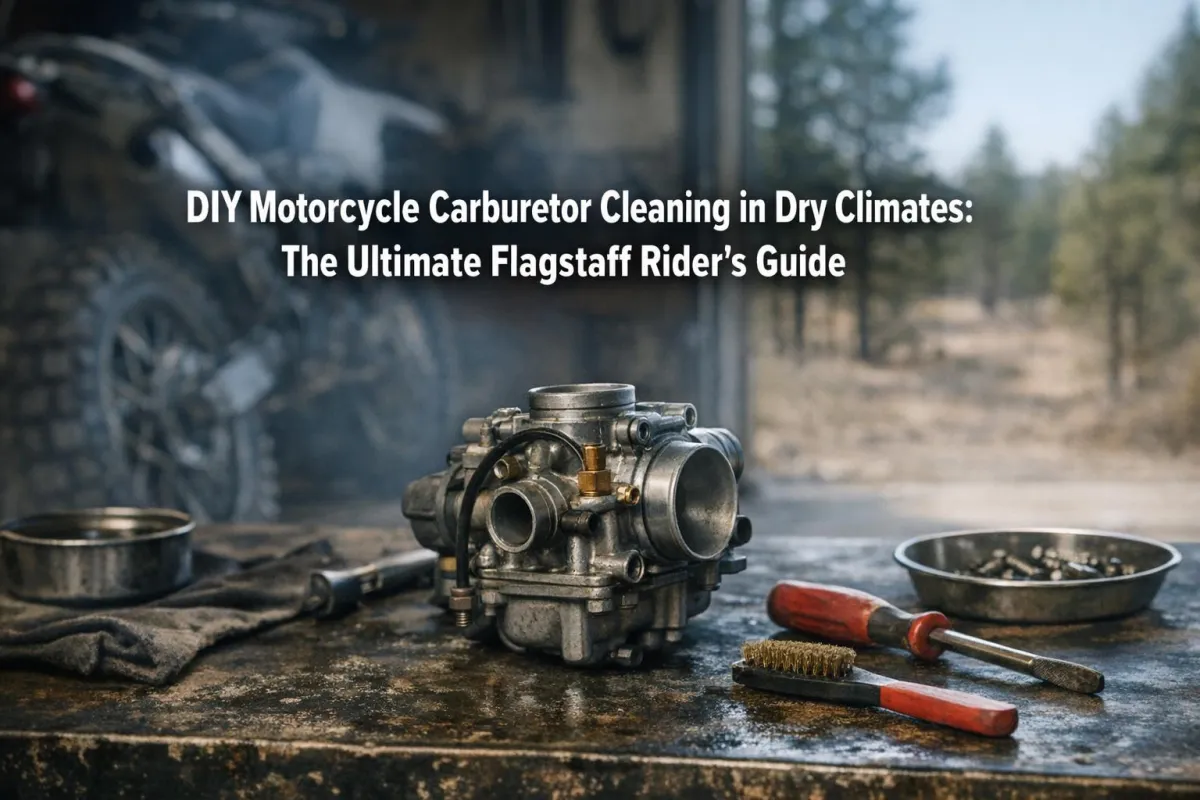
Riding in Flagstaff, Arizona comes with unique challenges—high elevation, dry air, and fine dust that can quickly clog a motorcycle carburetor. When fuel passages gum up or jets partially block, riders notice hard starts, rough idling, poor throttle response, and power loss on climbs.
This guide walks you through how to clean a motorcycle carburetor properly in a dry climate, what to watch for, and when it’s best to leave the job to a professional.
Why Carburetor Cleaning Matters in Dry, High-Elevation Areas
Flagstaff’s environment accelerates carburetor issues because:
Dry air promotes fuel evaporation, leaving varnish behind
Dust easily enters intake systems
Elevation changes affect air–fuel mixture balance
Routine carb cleaning helps restore smooth performance and prevents long-term engine damage.
Tools & Supplies You’ll Need
Before starting, gather:
Screwdrivers (Phillips and flathead)
Socket set
Carburetor cleaner spray or soak solution
Compressed air
Clean rags
Small container for parts
Nitrile gloves and eye protection
⚠️ Work in a clean, well-ventilated area—carb cleaner is powerful stuff.
Step-by-Step: How to Clean a Motorcycle Carburetor
1. Remove the Carburetor
Turn off the fuel petcock
Disconnect fuel lines and throttle cables
Carefully remove the carb from the engine
Take photos during removal—this makes reassembly much easier.
2. Disassemble the Carburetor Carefully
Remove the float bowl
Take out the float, needle valve, and jets
Keep parts organized in the order removed
Avoid forcing screws; stripped fasteners are common on older carbs.
3. Clean All Components Thoroughly
Soak metal parts in carb cleaner to dissolve buildup
Spray cleaner through jets and passages
Use compressed air to blow out debris (never use wire)
If light won’t pass through a jet, it’s still clogged.
4. Rinse, Dry, and Inspect
Rinse parts with clean water if recommended by cleaner instructions
Dry completely using compressed air or lint-free cloths
Inspect gaskets and O-rings for cracks or stiffness
Replace worn seals—reusing them often causes leaks.
5. Reassemble and Reinstall
Reassemble components in reverse order
Ensure floats move freely
Reinstall carb, reconnect lines and cables
Turn fuel on and check for leaks
Start the bike and let it idle—smooth idle and crisp throttle response mean success.
Common Mistakes to Avoid
Skipping compressed air cleaning
Mixing up jets or float components
Reusing damaged gaskets
Overtightening screws
Small mistakes can undo the entire cleaning process.
How Often Should You Clean Your Carb in Flagstaff?
For dry, dusty regions like Northern Arizona:
Trail or off-road riding: every 6–12 months
Street riding: every 12–18 months
Immediately if symptoms appear
Preventative cleaning saves time and money long-term.
Key Takeaways
Dry climates accelerate carb buildup
Proper cleaning restores power and throttle response
Organization and patience are critical
Worn seals should always be replaced
Regular maintenance prevents costly engine issues
Need Professional Carburetor Service in Flagstaff?
If your carburetor is severely clogged, out of adjustment, or still causing issues after cleaning, trust Mountainside Motorcycle Services for expert diagnostics and precision tuning.
📞 Call: 928-600-7602
🌐 Visit: https://mountainsidemotorcycleservices.com
🔧 Ride smoother, start easier, and keep your bike running strong—Flagstaff terrain demands it.